Three Wet Felted Light Shades
Bowl-Shaped Light Shade #1
For full process and explanation, scroll down to watch video of the felting process.

card stencil

adding wool to cover the stencil. (two layers)

resist covered with two even layers of wool (on both sides of resist) ready to start felting

felted piece opened up and placed onto a beach ball for more felting
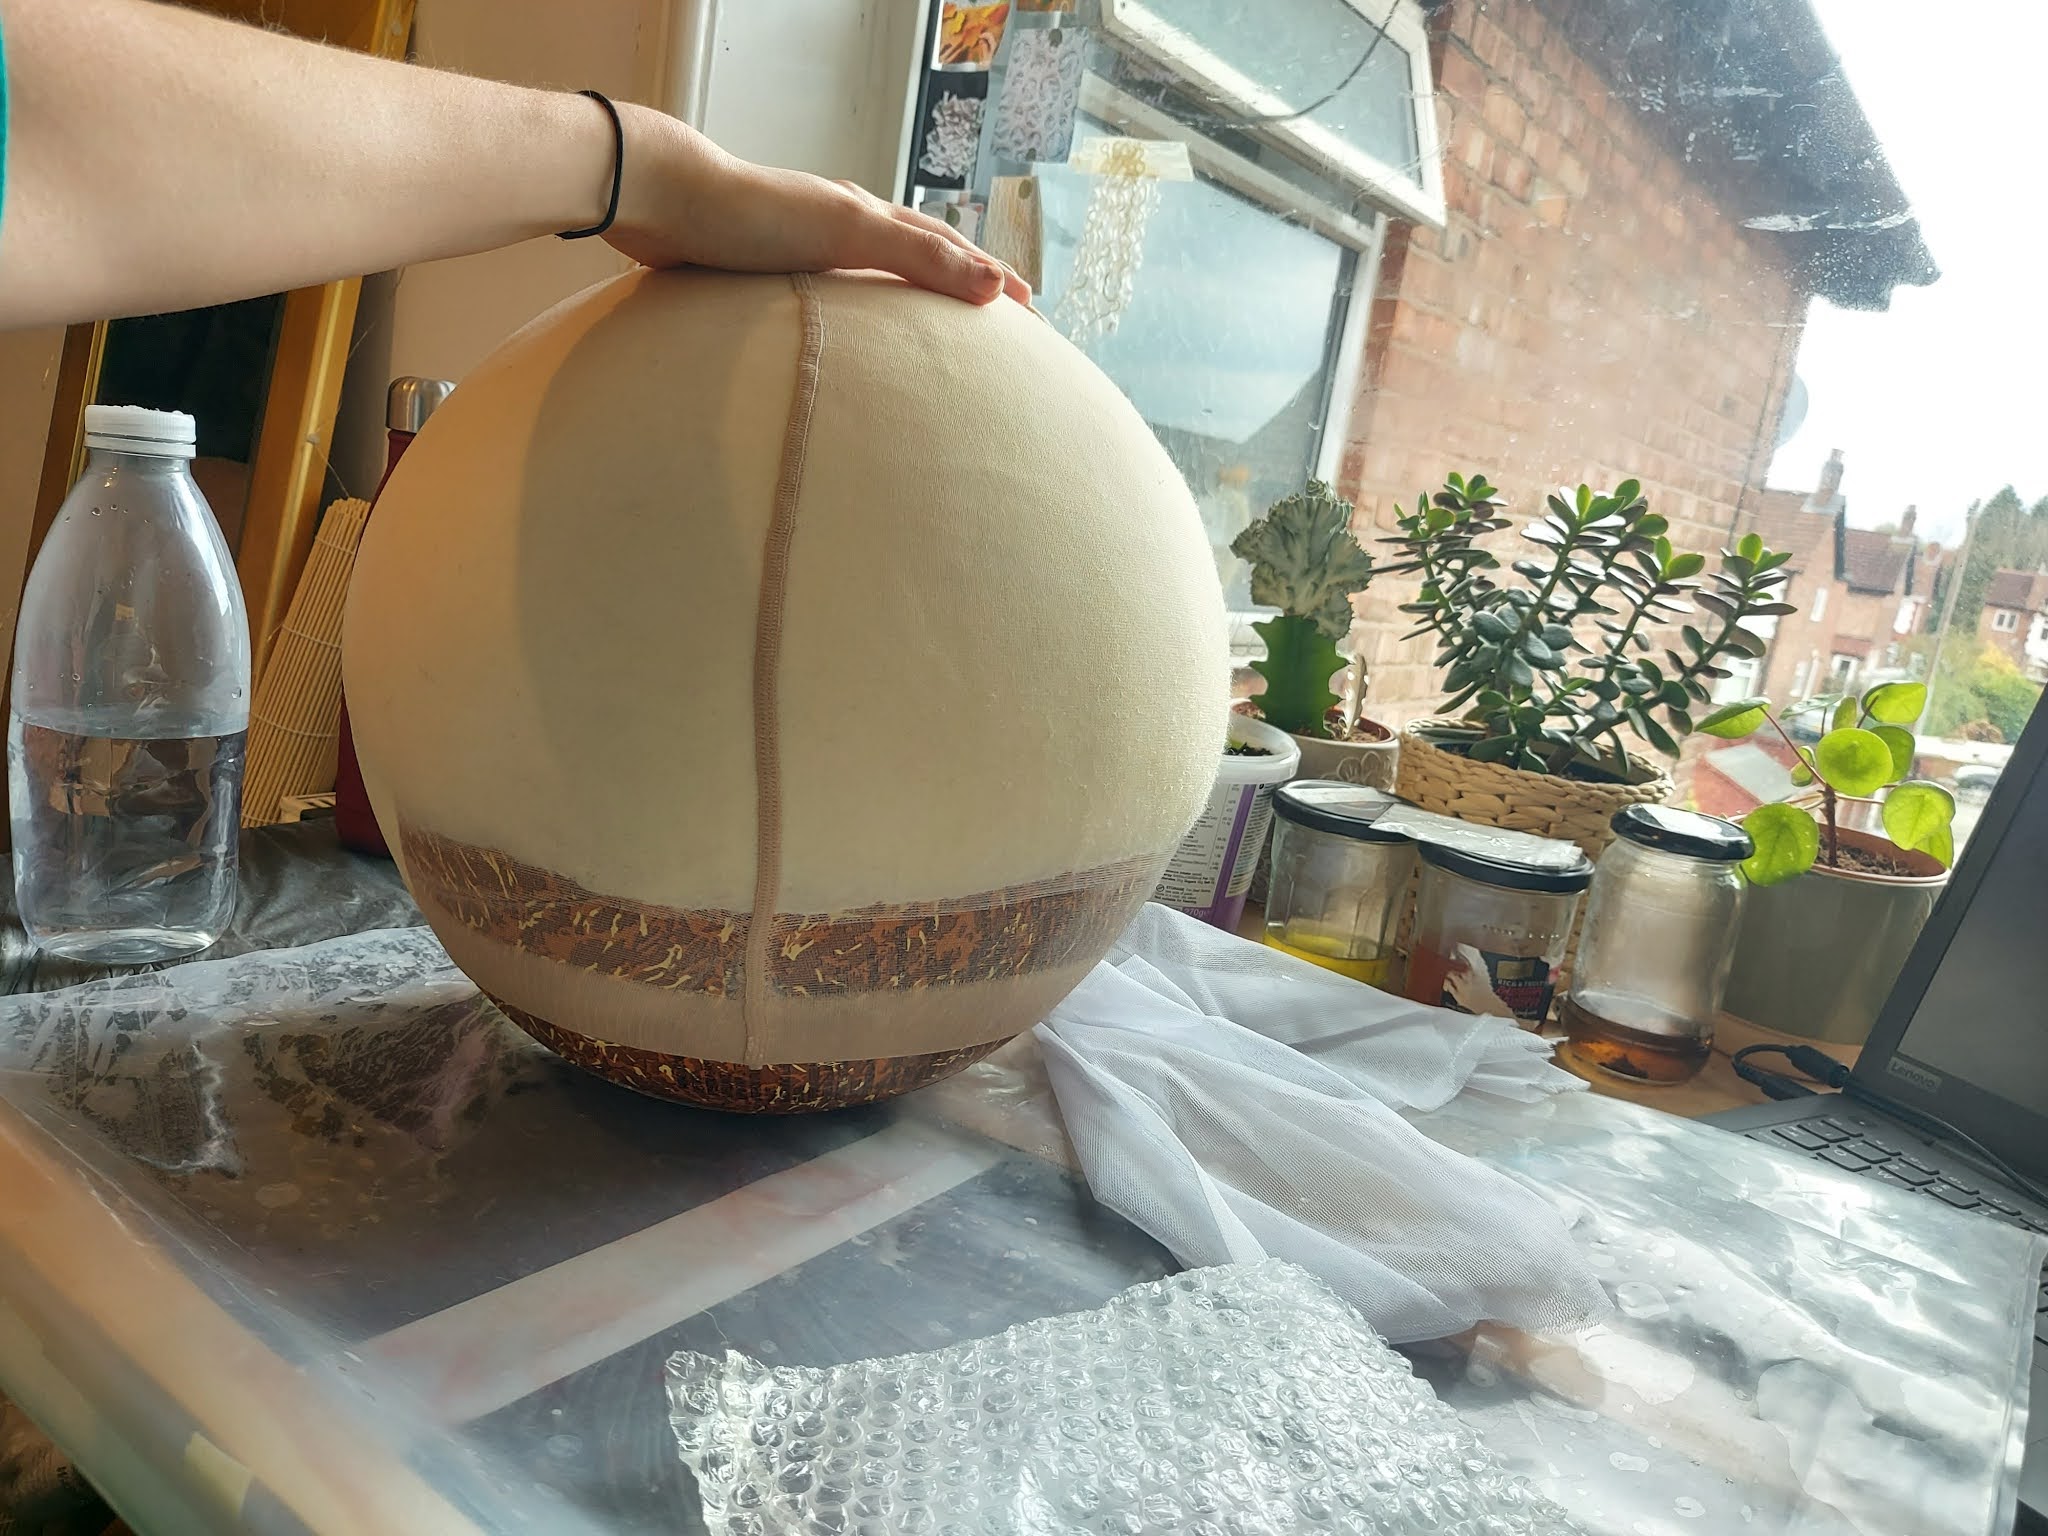
I covered the wool with tights to felt the wool maintaining its shape

I then rolled the felted piece on a bamboo roll mat to felt it even more

finished felted piece

I absolutely love the way this light shade turned out. As the piece shrunk quite a bit as it was felted, it was a bit smaller than I thought it would be. However I really don't mind this as I love the natural shape and edges it created.
Bowl-Shaped Light Shade #2
To create my second wet felted light shade, I repeated the process of the first one.
For this piece, I decided to add some detail by embroidering around the edge of the lightshade with some of my naturally dyed spun wool.


Unfortunately this piece did not turn out as well as the first as I didn't allow it to shrink enough. This means that the piece is too thin and can't hold its own shape very well. (even after stiffening it).
Felted Light Shade #3
Instead of taking photos of the process of me making my third wet-felted lightshade, I decided to video the process as this piece was larger and more complex to create.


This piece has to be my favourite lightshade I have created. Its natural shape creating a tunnel for the light bulb to glow. I decided this piece didn't anything adding to it as its shape is unusual enough. I think adding to it may have been a bit too much. Even though this piece took the longest to make, I would love to recreate it experimenting with different types of wool.
🌱Kat Webb🌱


Comments
Post a Comment