Wet Felting Wool (First Attempt)
My First Attempt at Wet Felting Wool
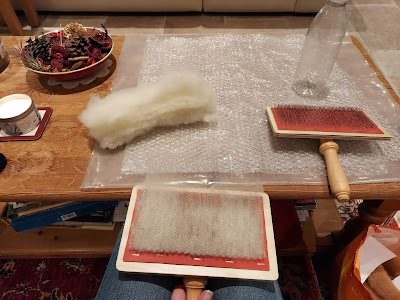
Before wet felting, I washed and carded some wool.
Video 1
- Firstly, I laid some carded wool onto some bubble wrap (bubble side up). I placed one layer of wool down vertically and a second layer horizontally on top, to lock the fibres together and create an even thickness of wool.
- I filled an empty plastic bottle with warm soapy water and poked holes in the lid. I used this water to sprinkle over the wool. This helps the wool felt together.
- When I had wet the wool, I put the bubble wrap on top and pressed the air out of the wool. I also added some water onto the top of the bubble wrap making it easier to move my hands around the plastic to agitate the wool. Carefully rubbing and moving around the bubble wrap causes the wool inside to lock fibres together and start the felting process.
- Then, I began rolling the bubble wrap with the wool inside, occasionally flipping and rotating the wool.
Video 2
- I soon realised I needed a towel to soak up the excess water and to stop the wool from slipping around inside the bubble wrap when being rolled. This gave me more control when rolling.
- I repeated the process of rolling and spinning the wool several times.
- To check how felted the wool was I pinched the top of the wool and if it separated easily that meant it needed more rolling to lock more fibres together.
As you can see in this video, the wool felted quite well! The shape of the wool changed as it must have slipped around whilst I was rolling it. The wool's thickness also came out a bit patchy, this could mean I wasn't careful enough when agitating and rolling the wool between the bubble wrap.
Overall, the felting turned out quite well but it did take a very long time. I am aware that different wools felt easier than others. This wool is from a Poll Dorset X Texel ewe.


Comments
Post a Comment